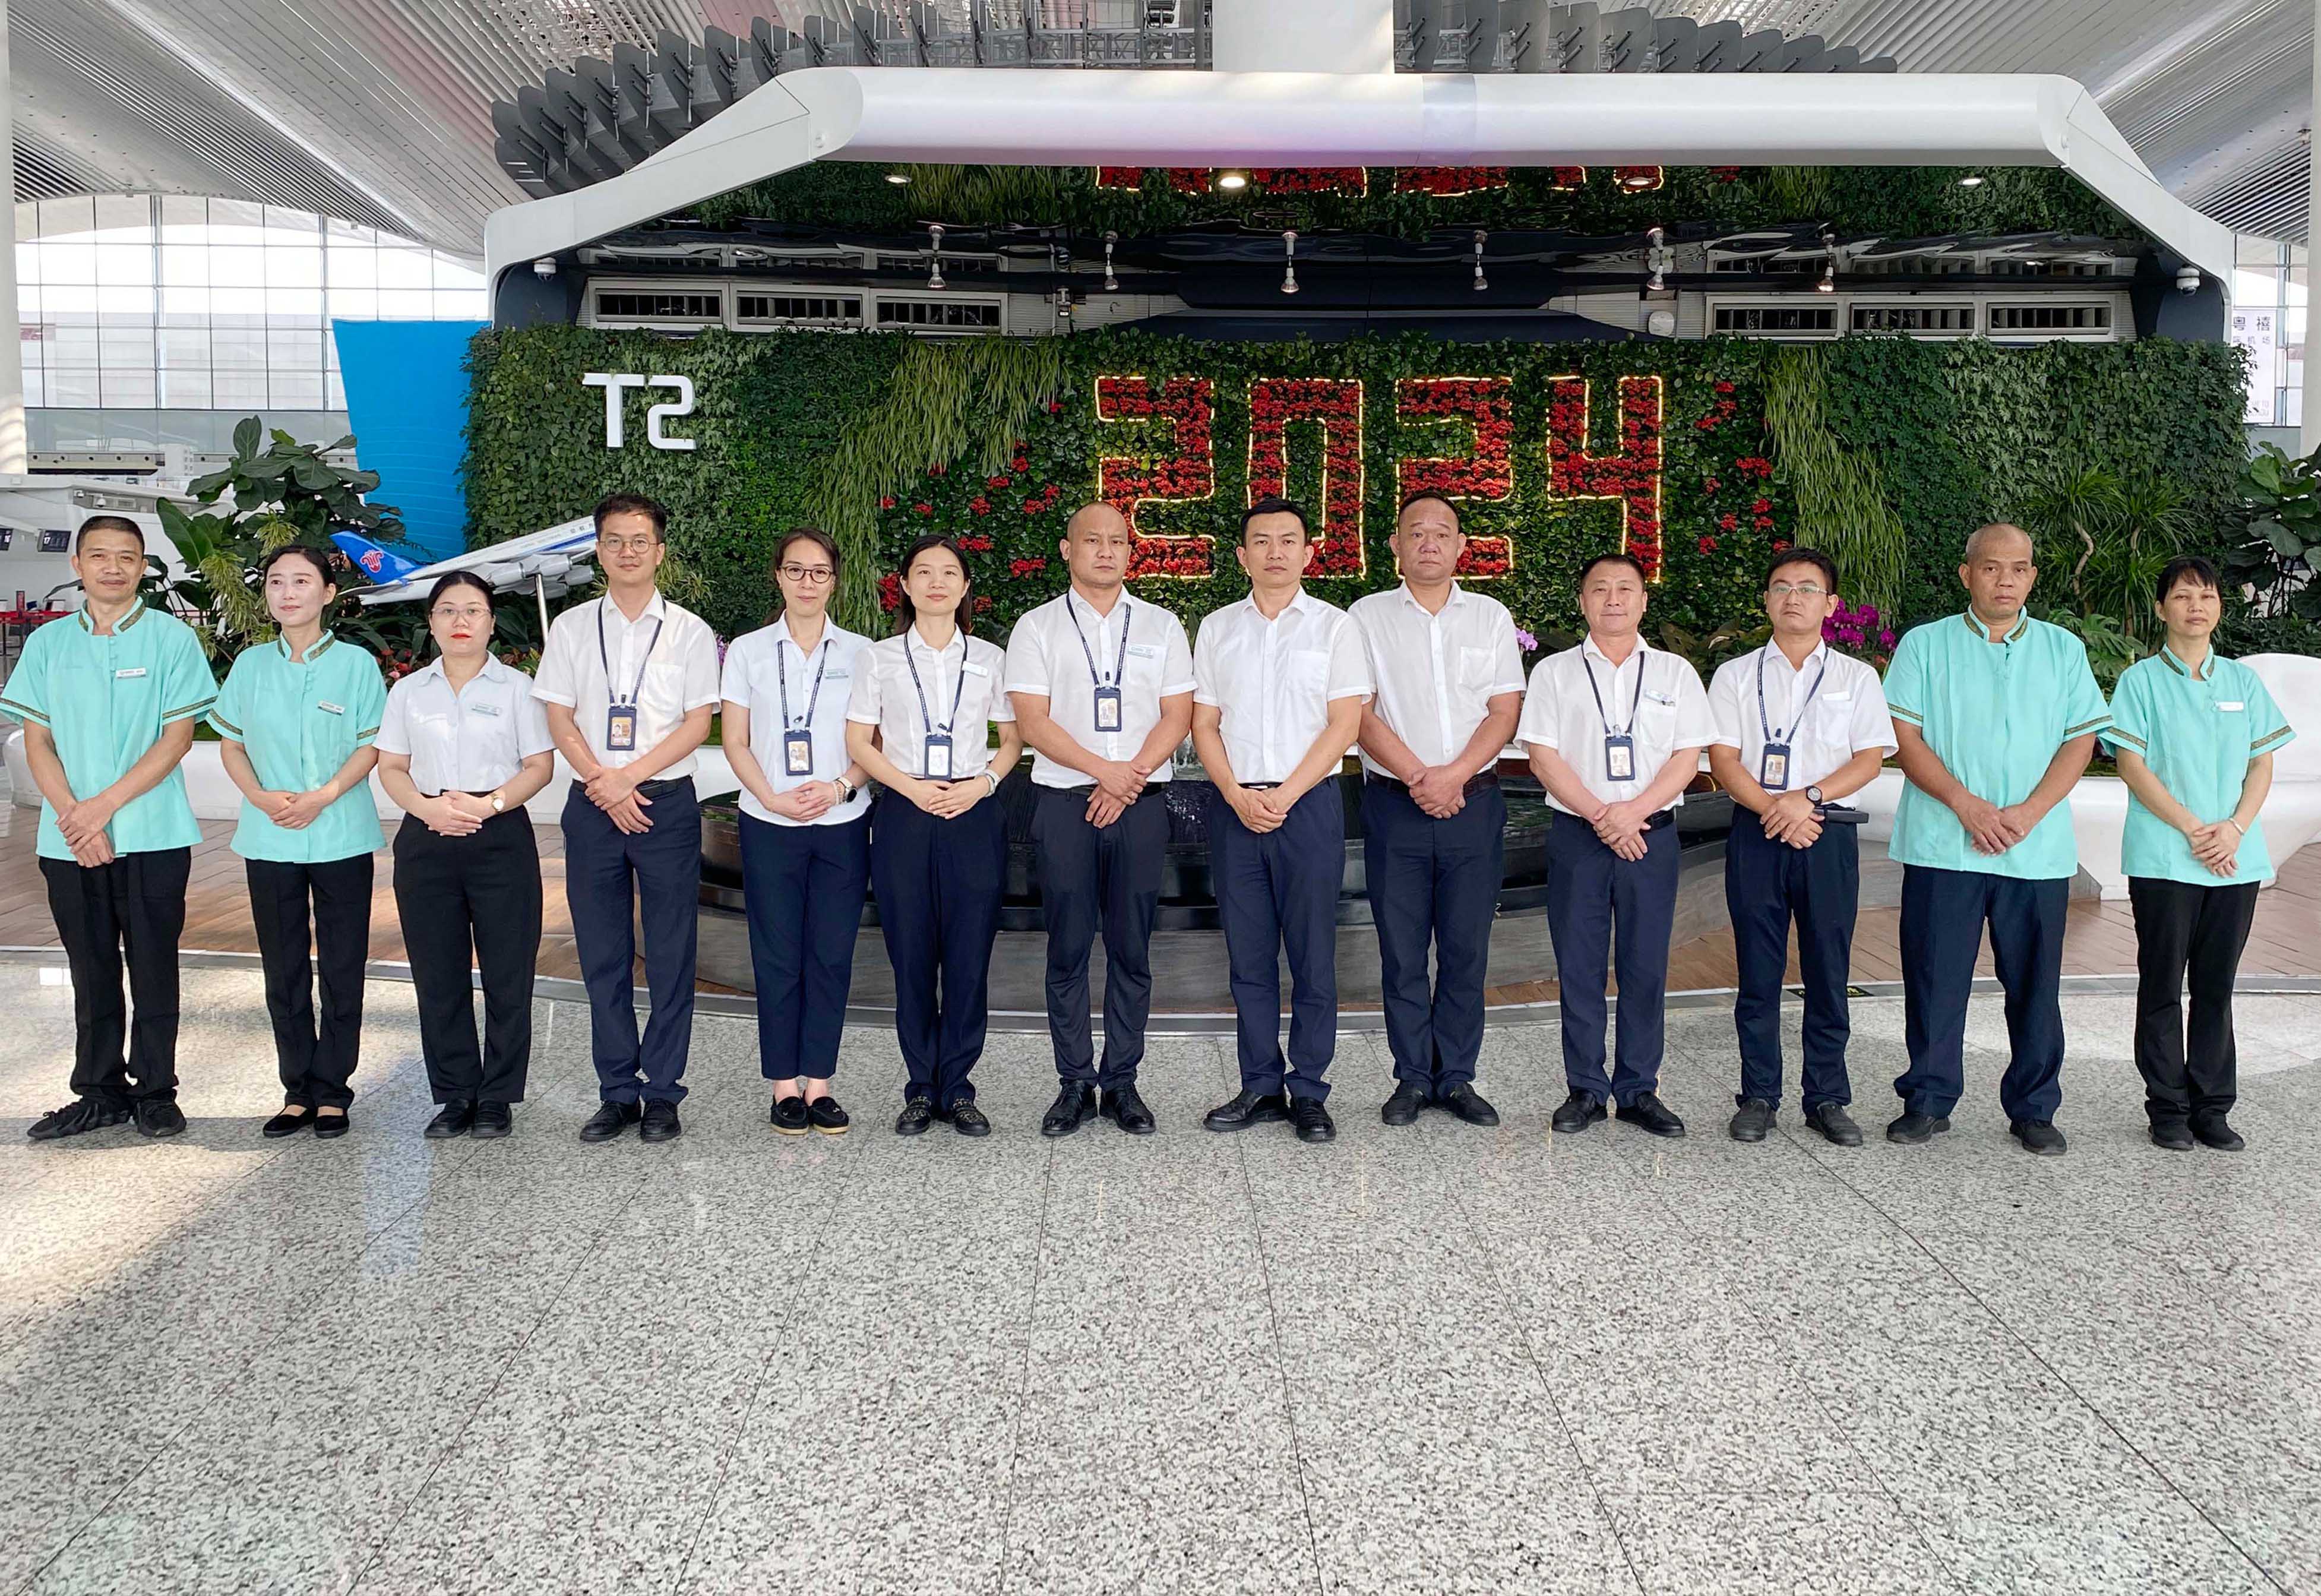
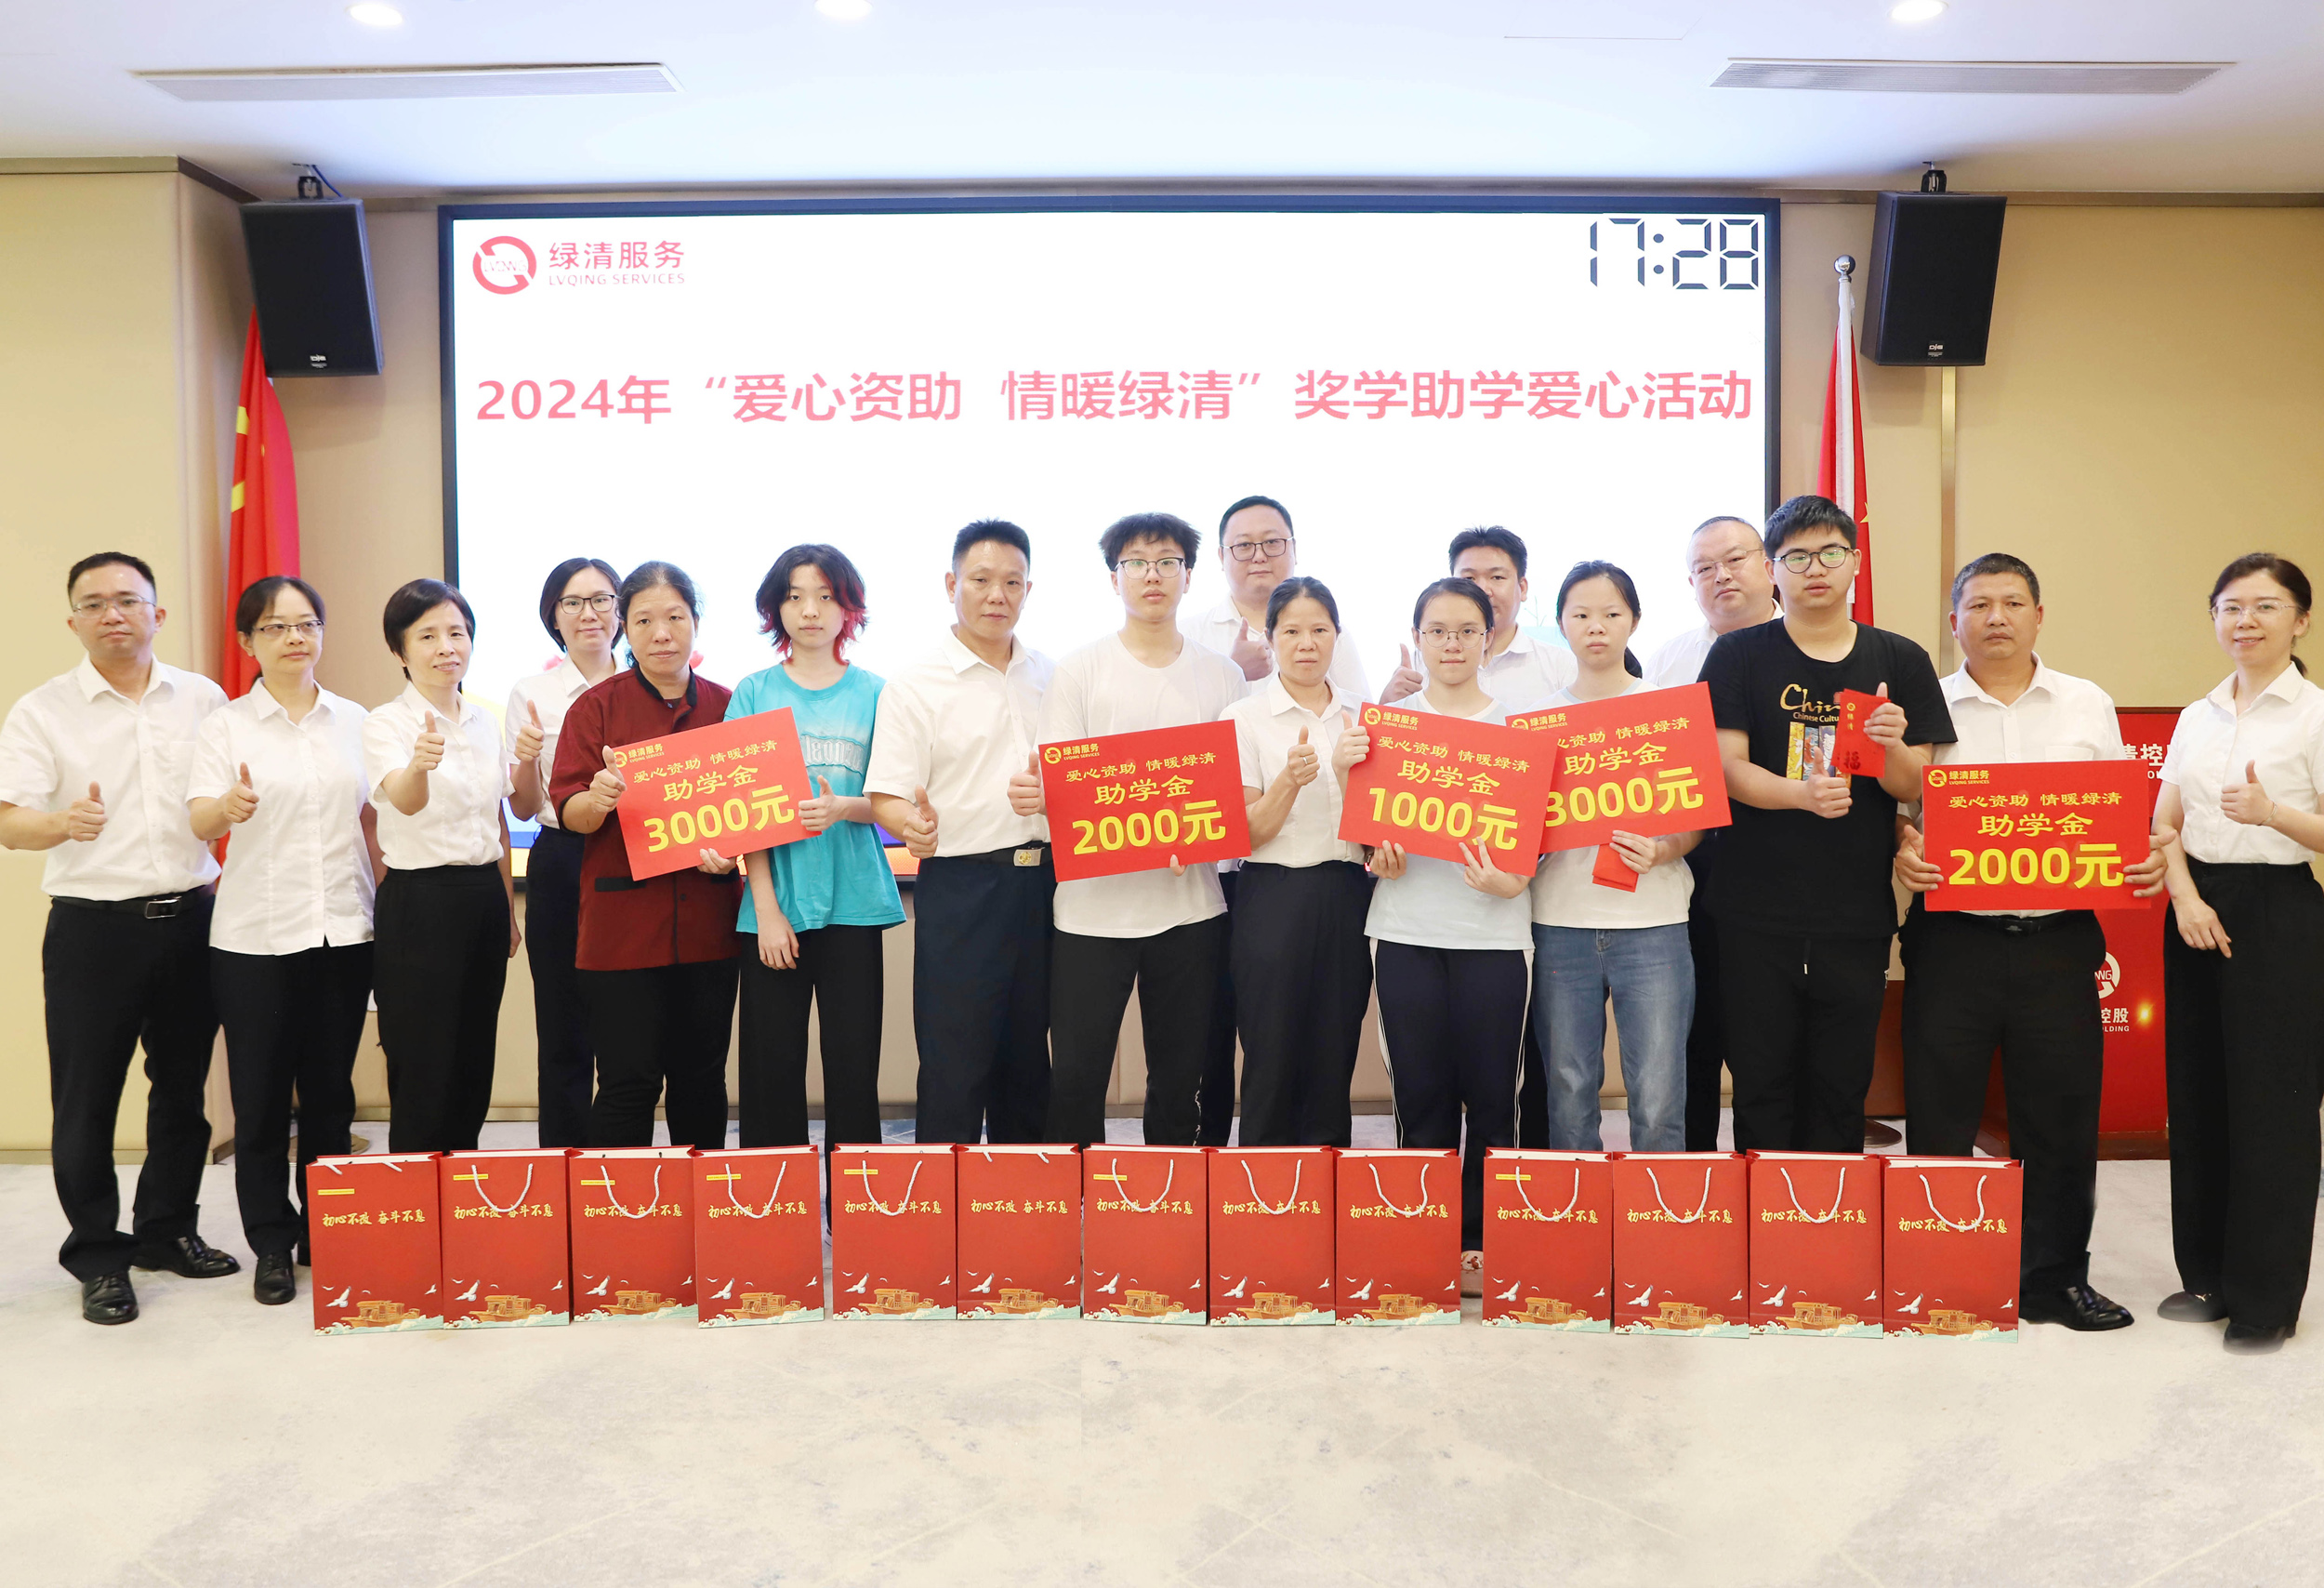
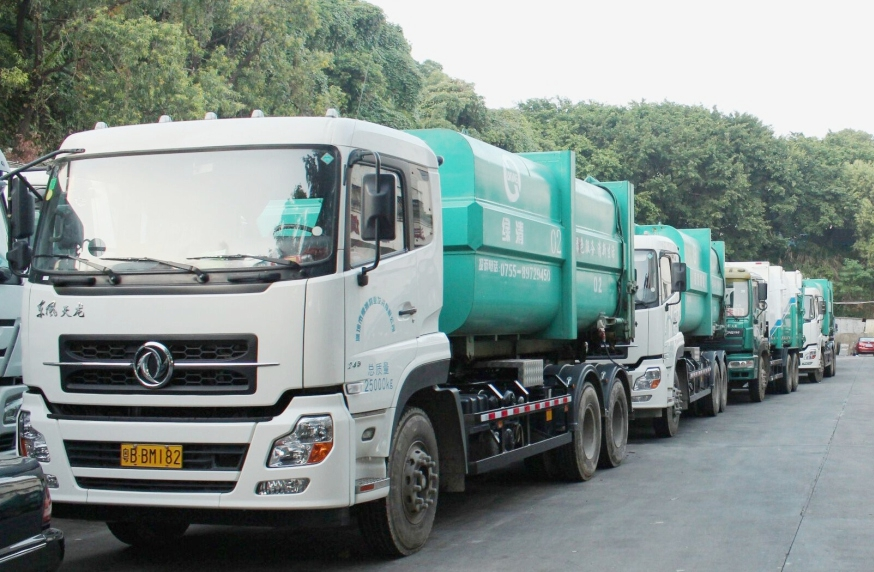
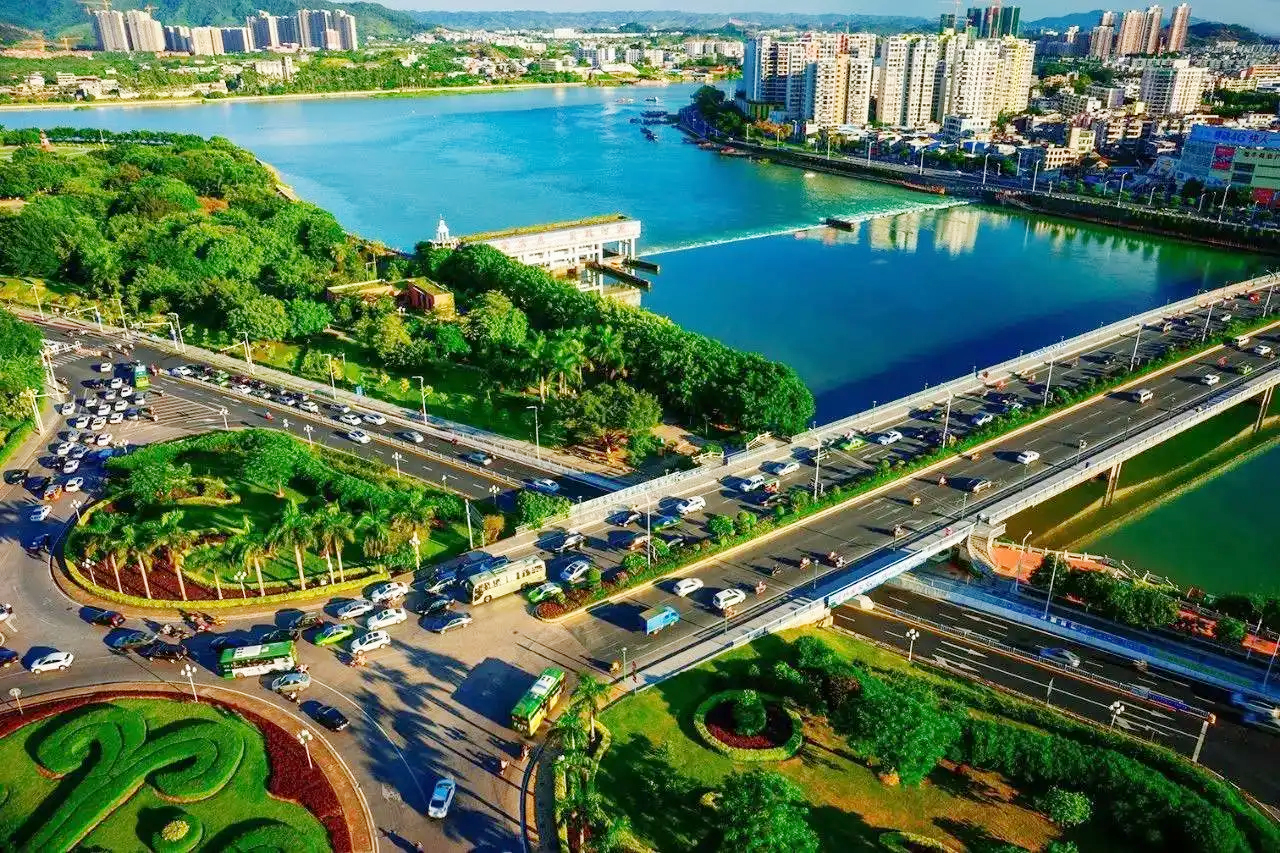
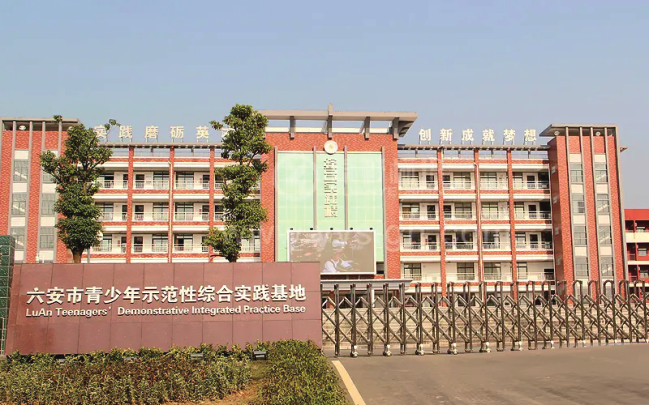
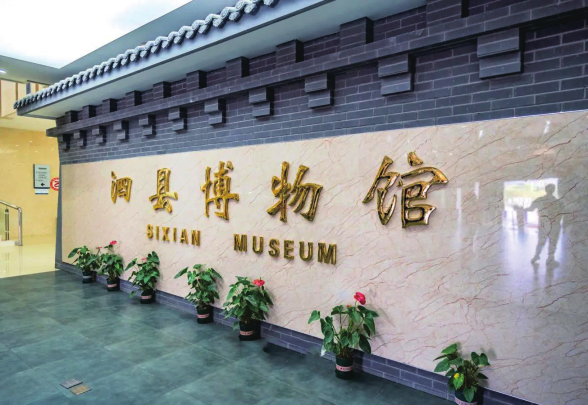
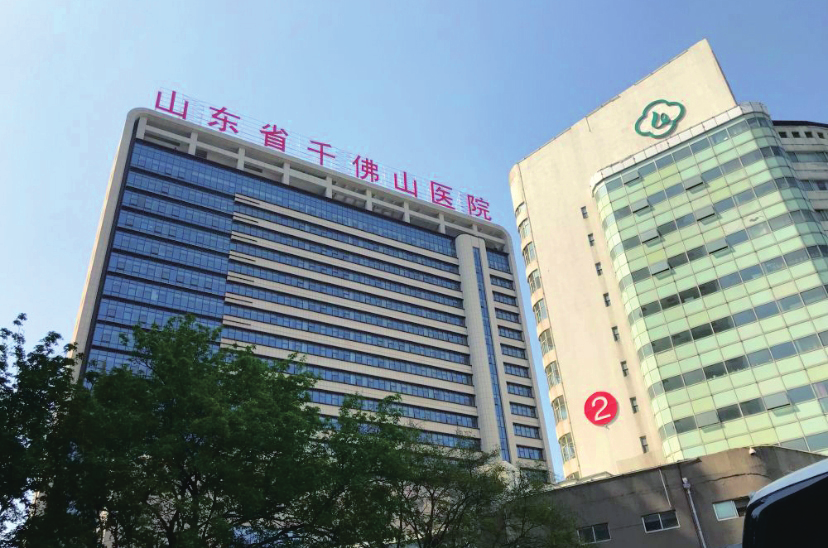
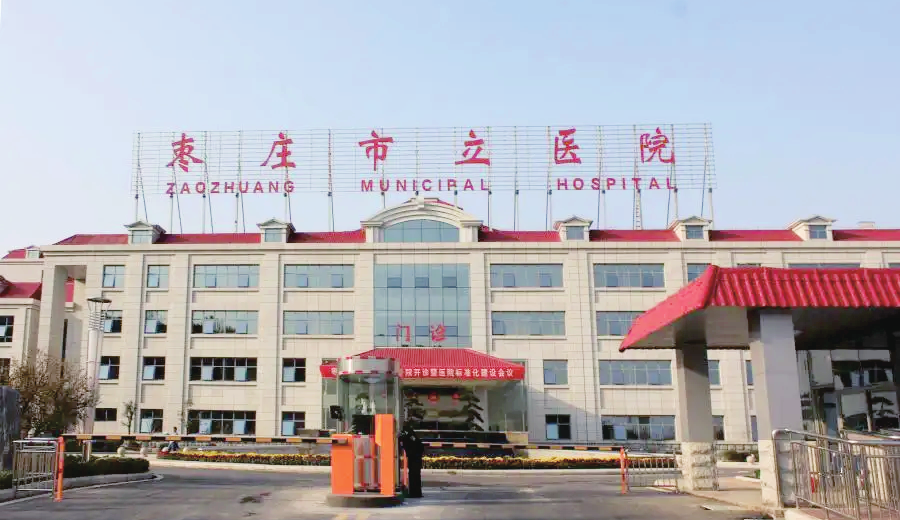
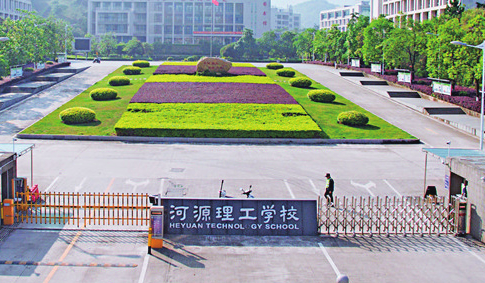
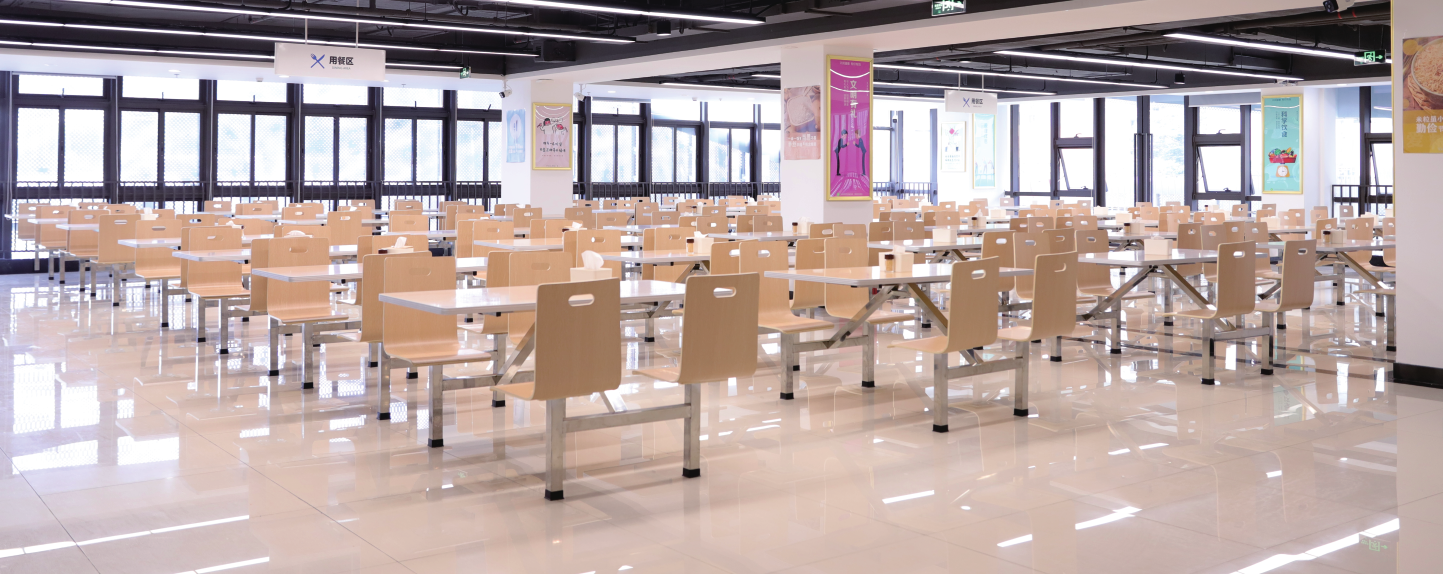
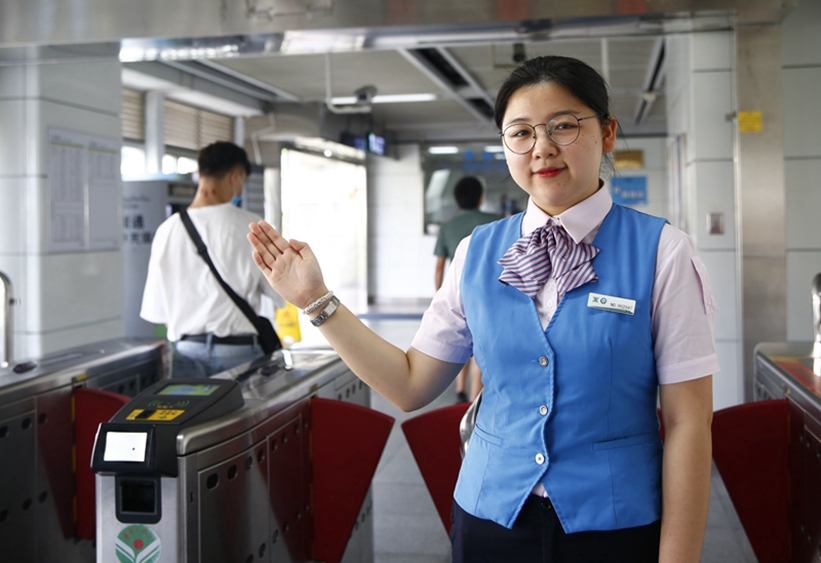
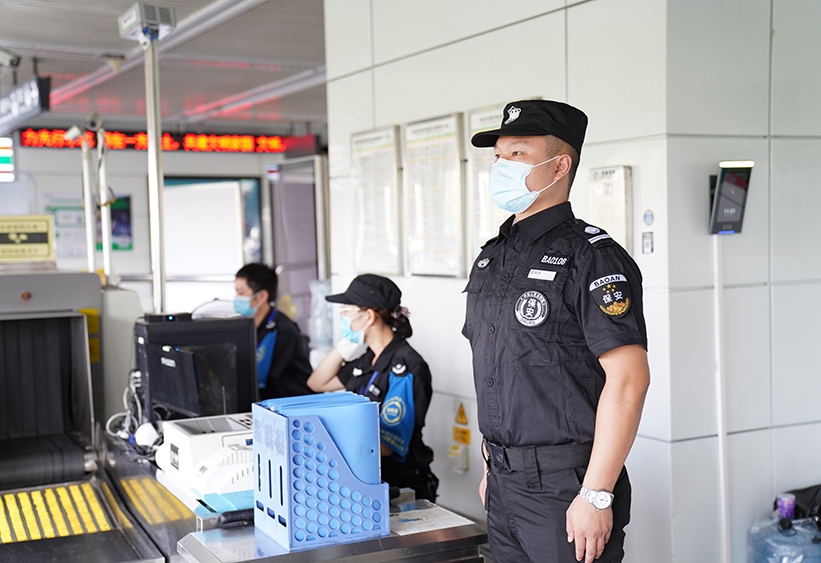
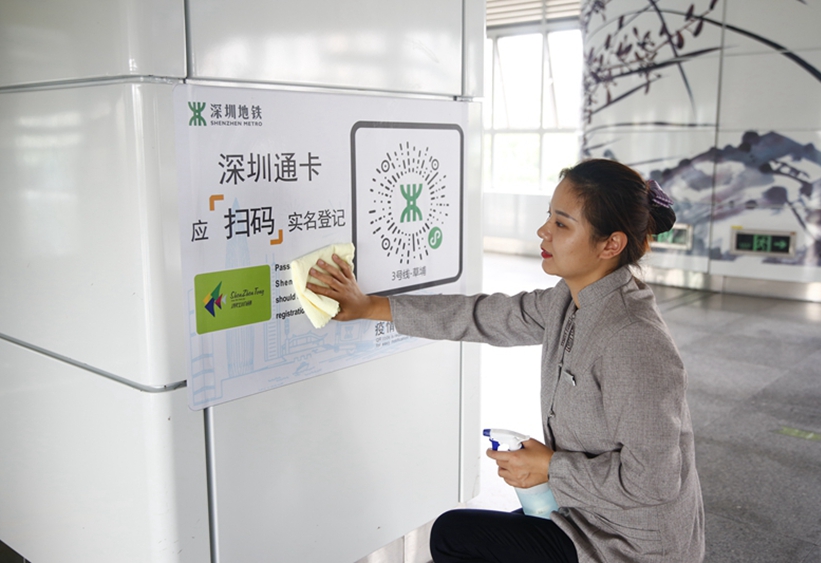
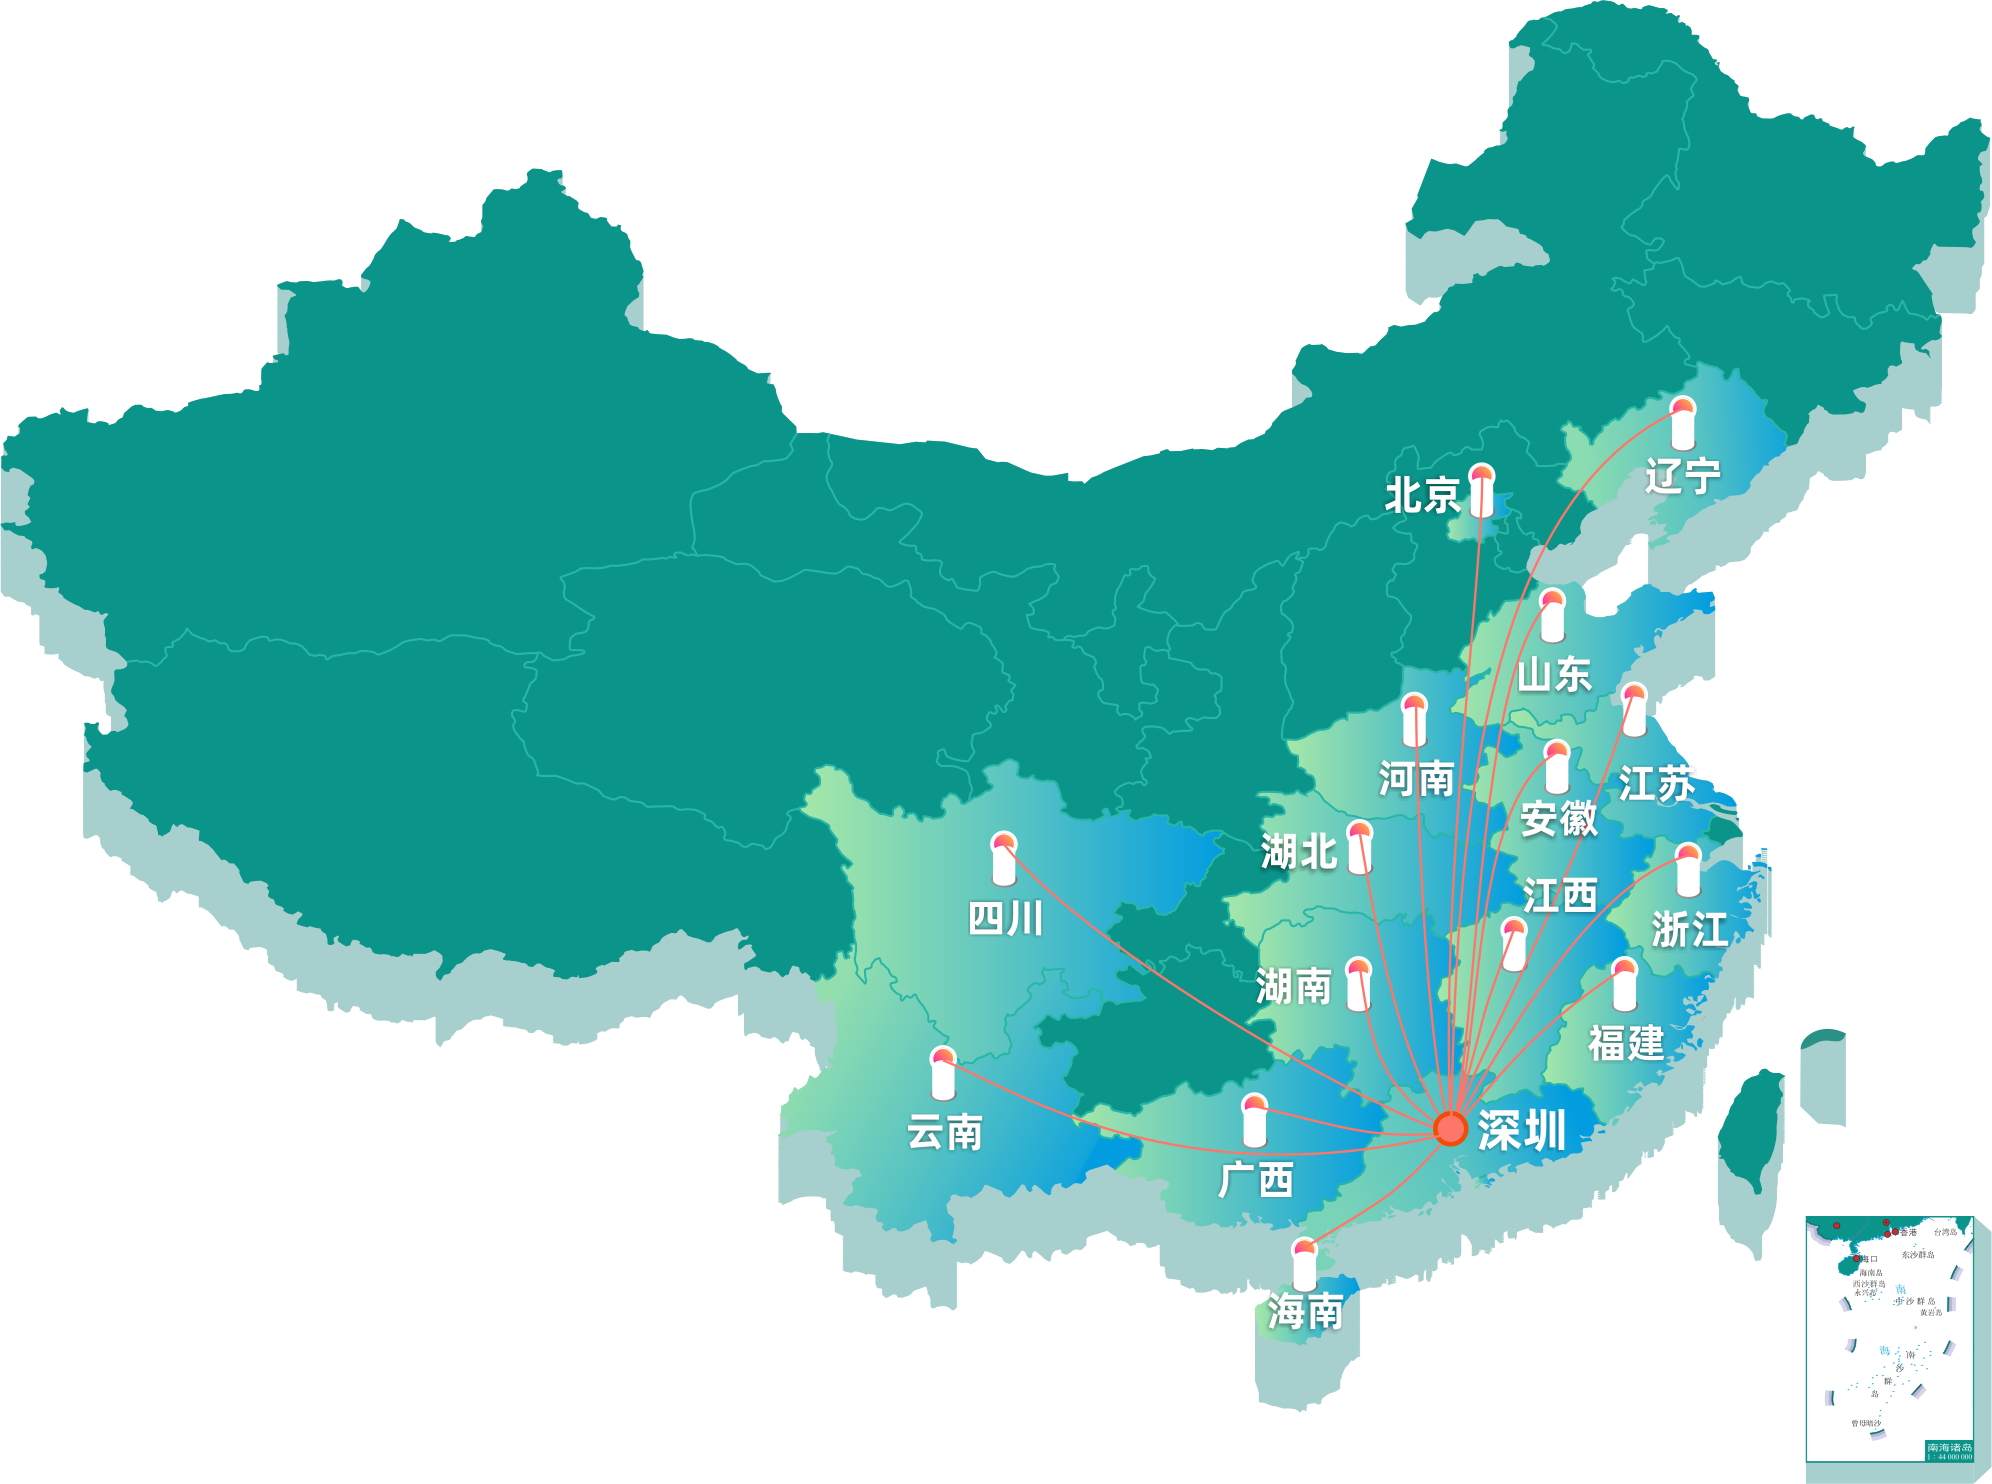
Print It, Cook It, EAT IT!

Print Friendly and PDFPrint Friendly and PDFPrint Friendly and PDF

Friday, March 9, 2012

Food Finds: Cupcakes, Donuts and Fried Chicken


Finally had the chance to taste Federal Donuts donuts, coffee and fried chicken.  I went at an off-hour and discovered that is the key time to visit this hotter-than-a-batch-of-chicken-out-of-the-fryer establishment.  The birds and donuts are literally flying out of the store, from 7 am until they run out of food, which by their tweets and Facebook posts, happens every day well before their posted closing times.  The shop, located at 2nd and Manton Street, is located on the corner of a small side street between Federal and Wharton Streets, in the TWO-Street district, aka, Mummer's Row.  The hours seem to be typically 7 am to 5 pm daily.  The store's been open since October and the press on this place has been positive and plentiful months before its actual opening.  Even though I used to live within a mile of the store, I never had the chance to get there.  And when you constantly read that they are sold out within hours of opening, the desire to trek over there wanes quickly.  I wanted to wait until the hype died down.  Fat chance!  The hype is still strong but the store proprietors are more retail savvy; chicken and donut quantities are more plentiful throughout the day.  I'm not reading as many SOLD OUT Tweets every day; store hours appear to last until their closing time.

Nate and I had a day about town a few weeks ago, part of that day included our Flickr Photo walkabout, a visit to the Opera Company and then we picked up our car.  I had the car and the time I figured a side trip was worth taking to see if Federal Donuts was open. I was hopeful there would be some scrap of food left for sale!  After 1 pm on a Sunday was the perfect time.  Fancy donuts were gone for the day but fresh, hot cake donuts were made on the spot if I was willing to wait a few minutes, which we gladly did.  Fresh, hot fried chicken was also still available.  While I waited for the food to be cooked, I chased Nate around the small store.  He climbed onto the clever counter stools that fold/swing away under the counter. I attempted to drink one of the strongest cups of coffee I've had in years. I hadn't had a cup of coffee in two weeks having been sick and unable to enjoy my daily cup of Joe.  What a jolt to my system!  The coffee could put hair on your chest - it's super hot, super strong and super good.  

We waited to eat the donuts and chicken for a few hours, which was too bad for the quality of the food but nice that I waited for Liz to come home so she could enjoy my food finds.  The donuts were magnificent, even if they weren't enjoyed moments after they were made.  Light, airy, not greasy and packed with flavors like high quality Indian cinnamon, cardamon, Chinese 5 Spice, and lavender.  These are worth a long bike ride, a long car ride and getting up extra early to be first in line in the morning for the first batch.  These are Bicycle-Chef desired but not sanctioned.  I'd have to make 4 trips over the Ben Franklin Bridge just to work off one donut.  Consider these a once in a blue moon treat if you are watching your weight and you don't want to see it balloon up!  A cake donut costs $1.25, a bit more than those institutional Dunkin Donuts and Krispy Kremes but worth oh so much more!

As for the chicken, it was very good too, albeit small and expensive. Half a chicken runs $9 and the pieces are small but they are top quality.  You pay a bit more than say, at Popeyes or KFC but there isn't any comparison.  The chicken is flavorful and moist.  I got the Za'atar seasoning for my first try, forgoing the harissa and glazes for another time. I think it would have been better to eat fresh out of the fryer immediately after it was cooked.  By the time we ate it, 4 hours later, I had to reheat it. I haven't had fried chicken in at least 5 years and I never eat the skin, until now.  We ate every scrap and I would have eaten the chicken bones too if I thought I could digest them! Homemade gingery pickles and a cake donut come with each order. 

 I'm not sure how many miles I would need to do in order to earn and burn these calories.  Let's just say that while this chicken is indeed, finger lickin' good, the cluckiest best I've had in years, I won't be indulging in it more than once in a while (read maybe once or twice a year) for fear of looking like the female Emeril or Mario Batalli or a younger Paula Deen version of Bicycle-Chef!  Federal Donut's simple menu of Donuts, Chicken and Coffee is a big hit, living up to the gotta-have it/eat it hype. I'm sure this formula will be duplicated around town.  Until another venue or copy-cat comes along go and check out this place pronto!

Across the river and Ben Franklin Bridge, I discovered an excellent cup cake shop in my new home town of Collingswood, My Little KupKake, located at 685 Haddon Avenue, Collingswood, NJ  08108.  
 
Cup cakes are usually not my thing.  Candy, ice cream, donuts and  pie are my dessert weaknesses.  To me, cup cakes are over-blown bon bons; waxy, dry, over-priced disappointments.  When it comes to cupcakes, looks usually are deceiving.  Remember my post about Staten Island Cakes? Those looked great but tasted like a jar of Crisco dipped in sawdust crumbs.  My Little Kupkake remedies my aversion to the pretty petite treat.  These cakes are gorgeous and tasty, moist, and flavorful.  The cake has a tender crumb and best of all, the icing is real! You don't feel like you just ate a big scoop of butter-flavored Crisco.  They come in three sizes - baby bear, momma bear and big bear sizes!  There are scads of flavors that change every day and week. Best of all, the prices are GREAT, ranging from $1.25 to $3 for a large that's big enough to generously share. We've been to the shop a few times and haven't been disappointed. 

So far we've tried the carrot cake, with real creamcheese frosting; chocolate and vanilla which Nate loved; Dulce du Leche; peanut butter and jelly, which reminded me of what Tasty Kake's Jelly Krimpets used to taste like back in my childhood when they were still wrapped in wax paper and cost 20 cents a pack!  Liz had the Almond Joy KupKate, topped with a huge chunk of a real Almond Joy bar.  Our friend, Steven, has come over twice to have the Red Velvet Cake KupKake - he's hooked!   The flavors, prices and location are all tempting me to stop into this store every day on my way home from work. I'll be good and keep on walking or riding by but...if you want a cup cake that won't disappoint you or leave your wallet empty, My Little Kupkake is worth a visit in Collingswood.  These babies might only set you back a ride or two around the Cooper River to work off and earn!

Monday, February 27, 2012

An Evening of Cocktails and Dancing

video
Well, how's this for an unexpected and unusual night out?  We received an invitation, on a SATURDAY NIGHT to to a cocktail party and social dance lessons in Center City, Philadelphia.  While this may sound normal to some people, for us to have an invitation to do something on a Saturday night,  two mom's with a 2 1/2 year old boy, going out on a Saturday night sounds like a dream!  I didn't care if I'm an awkward, two-left-and-and-clubfooted mess, I wanted to go out, have a cocktail and socialize!

Our friends, Astrid and Roger have been taking dance lessons for almost a year now, at Society Hill Dance Academy.  They won a party, an evening out at The Society Hill Dance Academy for 20 of their friends - a cocktail party with a bit of dance instruction.  Had the party been hosted by anyone else, people with whom we don't adore nearly as much, I doubt we would have attended this event. That would have been a shame too because this was a swell party, a little something different to spice up the evening.

Roger and Astrid's excellent dance instructor, Kate, was charming and inviting; she helped us all feel relaxed and comfortable enough to dance.  We started out with the Tango and Kate wisely taught us to step in time with the letters to T A N G O, in a slow-slow-quick-quick-slow manner.  No one fell and broke a hip and none of us hurt our dance partners by stepping on any feet.  After a short interval, another glass of Proseco and a nibble of Manchego, we lined up again for a Rumba lesson, a basic box step dance.  This was a bit trickier as the count didn't depend on remembering to step along the letters of the dance. It was more difficult to maintain the proper dancer's hold as we moved with awkward grace around the dance studio. Our shared laughter kept the party lively.  We ended the evening doing a quick merengue dance, learning the basic march movements and hip swivel.  I felt right in step with this kind of dancing. Good thing I didn't have glass of Proseco and a few more hours with the baby sitter or else I would have salsa'd and merengue-marched Liz up the road to one of Olde City's dance clubs! 

Now I'm smitten with the idea of taking dance lessons.  I can see that it would be good for us as a couple, building confidence, adding an element of sociability to our parental routine, a sprinkle of spice to our lives.  You can exercise, spend quality time together even rekindle a romantic spark as you build trust together in the shared learning experience.  What couple couldn't stand to add those elements into their relationship?

Saturday, February 25, 2012

Photo Finds: Philly Flickr Meetup


On Sunday, February 19th, I joined about 50 other photographers, all members of a photo website host called Flickr.  I've been using this website for over five years and in the course of this time I've never had a chance to meet any other local photographers face to face, camera to camera.  I follow a lot of people's work and I've become "acquainted" with a lot of artists over the years but we don't know each other in the real world.  Except for having met the Street Artists who's work I document, this organized Meetup was the first chance I had to interact with other local Flickr folks.

I was worried about the upcoming adventure - having to make my way into Center City Philadelphia with my 2-year old son, Nate, on the train and taking him in his stroller.  He and I are intrepid travelers and have done many walkabouts on our own but I've not taken him to the city via public transportation before and I've never done a photography tour with other people.  The walkabout didn't scare me alone, I'm an old city walker, cyclist, bus, train and subway traveler, but not so much for my little man!  I was also a bit intimidated by the thought of meeting other photographers who have better cameras, a more interesting view point and who might not be encumbered by having to look after and maneuver a child in a stroller.
My worries were premature.  Sure, it was hard to walk, talk, push a stroller, sight see, take photos and still have my wits about me.  It wasn't my best ever photography day but I WE had an amazing day and met a lot of wonderful talented people.  We weren't able to spend the entire day with the group.  We did manage to walk through the Reading Terminal Market area and into Chinatown.  I ran into Albert Lee, aka, Mr. Philadelphia and shared with the group organizer his information.  I might not have taken the most original and best shots but I did get ideas and there are a few photos that I took with which I'm pleased.  I won't win any awards but we had a fun time and Nate I took and adventure that has given me confidence to do more trips into Center City.

Herewith is a small sampling of our day out with the #PhillyFlickrMeetup.  A full perspective can be found at the Flickr Sight here at this link.  My Flickr Photos are also here at this link as well as in the badge/banner along the right hand side towards the bottom of my post page.  Enjoy!

A concrete park across the street from the Reading Terminal Market.
This was the meetup sight for the Flickr Group.


I like the way this photo makes the owner of this very nice camera look thoughtful
even though you do not see who she is.

So many of the photographers on the meetup brought along
many cameras.  This gentleman was very nice and had an impressive
array of cameras.

Jorj and his son Jacob.
An inspiration for what the future might hold for my Nibbet!

Patrick - a most charming and sweet fellow.  He walked along with me during my time with the group
He also became my photo of the day - allowing me to take his photo, which I then added to my 100 Strangers Project.

The Philly Flickr Meetup Group as we headed up 12th Street and into Chinatown

Business hours include closing every Wednesday!

A bit of the old world still exists in this very interesting and teeming town

Most occupants of Chinatown do not want their photos taken.
I managed to snap this before I realized that taking photos of the local inhabitants isn't ideal

Chinese - Littering/Dumping will cost you $300 Bucks, American, even in Chinatown!

Throw-back signage from an old - OLD Chinese Restaurant
House of Chen.  It's one of the original places in Chinatown.  I remember if from my childhood

Graffiti is everywhere - as is street art. 


Friday, February 24, 2012

Lightened Chicken and Waffles with Gravy

For a few years during the "re-birth" of myself, I was very strict about eating carbs and fat. It wasn't an Atkins or South Beach Diet thing, I just restricted my daily intake of carbs, breads, potatoes, fried foods.  Five years later, that's changed and while I'm not back to my old and fat bad ways, I do indulge, a bit more freely, in  bread/cake and sometimes fried foods.  I doubt I'll ever eat the way I did when I was in my 20's and 30's - or else I'll drop dead of a coronary, but I cannot see a life in which I don't get to enjoy some of the comfort foods of yor, like chicken and waffles.

There is a way to enjoy this All-American classic combination and still have it be healthy.  I haven't completely fallen off my two-wheeler here - believe me, you can make and eat a tasty version of home-made, made-from-scratch waffles and oven-fried chicken WITH GRAVY and not feel like Fatty BoombalatyNo tuba player will accompany your every step as your roll out with the barrels of fat around your middle, promise!  

With a few small tweaks, I reworked an otherwise verboten meal and made it wholesome using only real ingredients.  As a testament to the meal, I even have photos of LeAnne from Tinsel and Tine enjoying her meal at my house, along with my sous chef and partner, Liz.  No complaints from the tasting crew and we all went back for seconds...and thirds!  The waffles were made with whole wheat flours, low-fat buttermilk and light butter.  The chicken was oven-fried using whole wheat flour and bread crumbs, with a seasoning mixture that I concocted using garlic and onion powders, salt and pepper and paprika.  Use whatever seasoning blend you like, but know that you need to season the flour and the breadcrumbs to make sure the chicken has FLAVOR!  The gravy was made using light butter, the seasoned whole wheat flour from the chicken, and non-fat milk.  Short of not eating, I don't know how you could make this comfort food any more virtuous. 

The waffle recipe is from Alton Brown - modified for my own use.  I'm really into making waffles right now.  The Cuisinart Waffle Iron that I bought was the first "New-House" purchase I made once we moved to Collingswood.  I had been wanting a waffle maker for years but hesitated, thinking I didn't need yet another one-note/one-use appliance to clutter up the counter or cabinets.  As I have discovered, there are many uses for waffle irons that go way beyond making pancakes with some divots!  I'll be experimenting with recipes and finds that I've read about on Waffleizer.com  in future posts.

I've been making waffles just about every weekend for the past few months.  If I know in advance that I want to make them, I make the batter the night before, refrigerating it overnight.  It actually makes better waffles; the batter develops, the flavor is more nuanced and the gluten in the flour has a chance to relax, making for a tender waffle.  The first time I made these I didn't have buttermilk, and the waffles weren't that good.  It's worth seeking out the buttermilk.  Must be a South Jersey thing, but I've had no problem finding quarts of low-fat old-fashioned buttermilk in just about every grocery store in my area.  If you can't find it, you can make it yourself!  Here's a link to a recipe for 2 versions of home-made buttermilk(s).

Waffle Ingredients:

  • 2 Cups White Whole Wheat Flour (such as King Arthur Brand)       OR 1 Cup Whole Wheat Flour and 1 Cup All-Purpose Flour
  • 1/2 Cup Quick Cook Oats
  • 1/2 Teaspoon Baking Soda
  • 1 Teaspoon Baking Powder
  • 1 Teaspoon Salt
  • 3 Tablespoons Sugar
  • 1 Teaspoon Cinnamon (optional)
  • 2 Whole Eggs and 1 Eggwhite - beaten (or substitute 3/4 Cup Egg Beaters)
  • 2 Cups Low-Fat Buttermilk
  • 1/4 Cup Non-Fat Milk
  • 1 Teaspoon Vanilla Extract
  • 2 Tablespoons Light Butter (such as Smart Balance Light Original) - melted and cooled slightly
  • Cooking Spray for Waffle Iron
 Directions:
  1.  Preheat waffle iron. 
  2. In one large mixing bowl, combine the dry ingredients, flour(s) though cinnamon (if using); dry whisk these ingredients together to incorporate. Set aside.
  3. In another large mixing bowl, beat the eggs and egg whites together until they are frothy then pour in the buttermilk, non-fat milk  and melted and cooled light butter, whisking to combine.
  4. Pour the wet ingredients into the dry and fold until combined, but do not over-mix.  There may be a few lumps but all the batter should be thoroughly mixed together.  Let the batter sit for at least 5 minutes to rest, or cover and refrigerate overnight. 
  5. Spray the waffle iron with the cooking spray before using or else the waffle batter won't release!  Depending on the size of the waffle iron, ladle in 1/4 to 1/2 cup of waffle batter onto the iron; close the top and cook until the waffle is golden brown on both sides and the waffle releases easily.  Serve immediately or keep warm in a 200 degree oven.
  6. Extra waffles, should you have any left-overs, will keep covered and refrigerated for up to 4 days, or will keep frozen for up to 1 month, tightly wrapped.  Makes approximately 8 standard size (8-inch round) waffles.
Oven-Fried Chicken and "Creamed" Gravy Ingredients:
For the Chicken:
  • 1 Pound Chicken Tenders
  • 1 Cup Whole Wheat Flour
  • 1 Egg - Beaten
  • 1/4 Cup Water
  • 2 Cups Whole Wheat Bread Crumbs
  • 2 Tablespoons Garlic Powder (unsalted) - divided
  • 1 Tablespoon Onion Powder - divided
  • 1 Tablespoon Paprika (sweet/smoked or hot, your choice) - divided
  • 2 Teaspoons Salt - divided
  • 1 Teaspoon Freshly Ground Black Pepper - divided
  • Cooking Spray
  • 1 Large Sheet Tray
  • Silpat, Aluminum Foil or Parchment Paper to line sheet tray

For the Gravy:
  • 1 Cup Non-Fat Milk
  • 1 Tablespoon of the Seasoned Flour from above ingredients
  • 1 Tablespoon Light Butter
  • Pinch of Nutmeg or a few grinds/gratings of fresh nutmeg

Directions:

  1. Preheat oven to 375 degrees.  Line a sheet tray with either a Silpat, aluminum foil or parchment paper.  Spray it liberally with cooking spray.  Set aside.
  2. Set up a dredging station using 3 shallow plates/bowls.  In one, whisk together the whole wheat flour with half of all the dry seasonings, garlic and onion powders, paprika, salt and black pepper.  In the 2nd dish, whisk the egg and 1/4 cup of water together. In the third dish, mix together the whole wheat bread crumbs with the remaining dry seasonings.
  3. Take the chicken tenders and lightly coat/dredge them in the seasoned flour. Next dip the flour-coated chicken tenders in the egg wash (the flour helps the egg stick to the chicken,which will then allow the breadcrumbs stick to the chicken); last - dip the egg washed chicken tender into the seasoned bread crumbs, turning to coat evenly.  
  4. Take the bread crumb coated chicken tenders and lay them out onto the prepared sheet tray. Continue to flour, egg wash and bread the chicken tenders until they are all done.  
  5. Bake the chicken tenders for 15 minutes, turning them over once to brown both sides of the tenders.  Chicken is done when they are golden brown and firm to the touch - about 15 minutes.
  6. For the gravy, use a small sauce pot and melt over medium-high heat, 1 tablespoon of light butter.  Whisk in a tablespoon of the seasoned flour used to dredge the chicken tenders; cook the butter/flour mixture for 2 to 3 minutes, to cook off the floury taste.  
  7. Carefully pour in 1 cup of non-fat milk, whisking constantly to avoid lumps.  Bring the milk/flour mixture to almost a boil then reduce the heat to a simmer.  Heat the milk, stirring constantly until the milk begins to thicken and coats the back of a spoon - about 5 minutes.
  8. Taste and adjust seasonings, adding more salt and pepper as needed and season with a pinch of fresh nutmeg.  Serve the gravy hot with hot oven-fried chicken over the waffles!

Wednesday, February 22, 2012

Vegetarian Chili


At least once a year, I make a big batch of vegetable chili, usually with 3 kinds of beans and loads of vegetables.  I layer in many flavors and seasonings, sometimes going a little crazy with ingredients.  I know it sounds nuts, but my best and most unusual vegetarian chili recipe seasonings are a mixture of traditional flavors such as cilantro, cumin, oregano, thyme, ancho or chipotle.  My biggest change to the recipe, depending on mood and who I'm serving it to is to add in my favorite, no-so-secret go to ingredient, PUMPKIN, and other flavors like beer, coffee and chocolate.  Surprisingly, they all work well together, as I've written in past posts and recipes.  


To bulk up the chili and to make it even more protein friendly, I'll even add in bulgar wheat instead of cooked ground turkey.  It all depends on what I have in the pantry and what strikes my fancy. Chili is an infinitely adaptable and versatile recipe.  My version always has the vegetable basic building blocks - onions, garlic, carrots, zucchini, squash, peppers, 3 kinds of beans, corn and a southwest/Mexican style blend of seasonings.  I will vary the recipe by either making it vegetarian or I'll do a batch with lean ground turkey.  

Traditional Texas Chili is meat, chilies and maybe tomato product - no beans! Shudder to think!  My chili recipe is a riff on one that I learned from Jill Horn at Vorspiese in the Reading Terminal Market as well as one that I made for Andro at Andro's Fine Foods.  From each restaurant where I worked, I took elements of the recipe and made it my own.  Now I'm passing it along to you.  Where it goes from here is up to the cooking Gods and Goddesses!  A few friends have been asking me for my vegetarian chili recipe.  I realized that I had not posted it on this blog even though I had the Turkey version posted from a few years ago.  It's not all that different, but the vegetarian version deserves it's own post.
Ingredients:
  • 1 Tablespoon Olive Oil
  • 1 Large Onion (about 2-3 cups) - peeled and medium dice
  • 5 Medium Carrots - (about 2 cups) -  peeled and medium dice
  • 6 Garlic Cloves (about 1/4 cup) - finely minced
  • 1 Large Red Bell Pepper (about 1 cup) - medium dice
  • 1 Large Green Bell Pepper - (about 1 cup) - medium dice
  • 1 Medium Zucchini (about 1 1/2 cups) - small/medium dice
  • 1 Medium Yellow Squash (about 1 1/2 cups) - small/medium dice
  • 3 Cans Beans: (Low Sodium) Black Beans, Kidney and White or Pinto Beans (15-16 oz each) – drained and rinsed
  •  2 Tablespoons Cumin
  • 1/4 Cup Ancho Chili Powder
  • 1 Tablespoon Ground Chipotle Chili Powder (optional, for additional heat and kick!)
  • 2 Tablespoons Dried Oregano
  • 1 Tablespoon Dried Thyme 
  • 2 Tablespoons Cocoa Powder (unsweetened) or Chopped DARK 70% or Higher Cacao
  • 1 Tablespoon Instant Coffee or 1/4 cup strongly brewed Coffee
  • 1 Large Can Unsalted Tomato Puree Sauce (20 ounces or more)
  • 1 - 14 Ounce Can Pure Pumpkin Puree
  • 2 Cups Water OR 1-12 ounce bottle of a good quality dark or amber beer AND 1 Cup of water
  • 2 Cups Frozen Corn
  • 1/2 Cup Packed Cilantro– minced
  • Salt and Freshly Ground Pepper—to taste
  • Zest and Juice of 1 Lime (about 1 teaspoon of zest and 1 tablespoon of fresh lime juice)
Directions:
  1. Use a stock pot, Dutch oven or other large and heavy bottomed pot. Heat 1 tablespoon of olive oil until it shimmers over medium-high heat.
  2. Add in the onions and the carrots; saute and sweat them about 8 minutes, or until they begin to take on a hint of color.
  3. Add in the garlic, stir and cook another 3 minutes.
  4. Add the peppers, the squash and zucchini and saute for 5 to 8 minutes minutes.
  5. Next add in all of the dry seasonings, cumin through the cocoa powder (or dark chocolate if using) and stir to combine and toast.
  6. Pour in the brewed coffee or instant coffee powder, stir to combine
  7. Add in the beans, frozen corn, tomato sauce, pumpkin puree and water or beer. Stir to combine.
  8. Simmer for 40-60 minutes.
  9. Taste and adjust seasonings, adding salt and freshly ground black pepper as needed; adjust as needed additional cumin, chili powder or oregano  Stir in the lime zest and juice last, to brighten the flavors and garnish with freshly chopped cilantro.
  10. Makes about 1 gallon of chili or enough to last several meals and freeze some.  Frozen, it will last for up to 4 months.  Serve hot with cheese, sour cream, tortilla chips or with brown rice, if desired.
Notes: If you want to add bulgar wheat to this to bulk up the chili, add 1 cup of bulgar wheat  it when you add in the liquid ingredients, along with an additional cup of water. As the bulgar wheat cooks, it will absorb the liquid and more than double in size.  If the mixture is too dry, add in additional water, by 1/2 cup at a time.  Remember to stir the mixture to keep it from sticking to the bottom of the pot.